How to assign, modify and use plans with businesses?
Plans are a valuable tool that empowers you and your team to effectively organize responsibilities. They serve as a framework for connecting your business to social media platforms, while also defining the specific number of social media posts to be shared each month for each business. Additionally, plans enable you to manage crucial aspects such as reviews, social inbox, and comments. They offer the flexibility to customize client access features and configure the analytics section, making it one of the most indispensable features when creating and configuring your business within LikeIt.
Welcome to this guide on assigning and using plans with businesses. In this guide, we will cover the different cases in which you may need to use plans with your businesses and provide step-by-step instructions to help you through the process.
Case 1: Adding a New Business and Client with No Previous Contracts
If you’re adding a new business and client with no previous contracts, follow these steps:
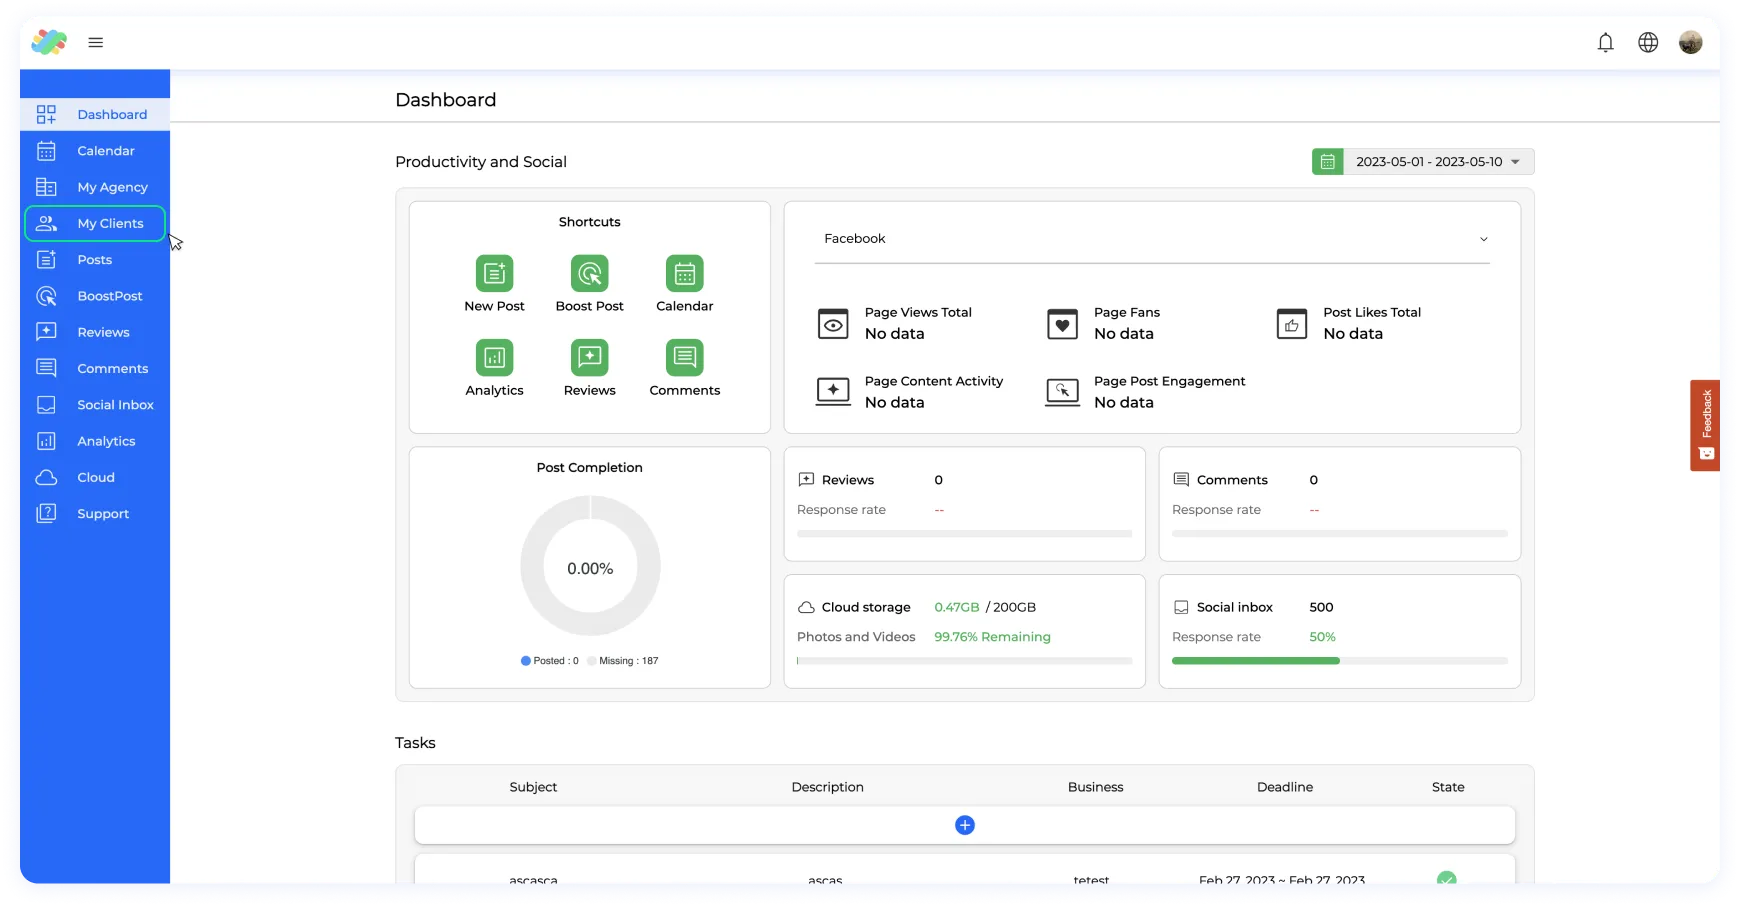
Step 1. Log in to your account
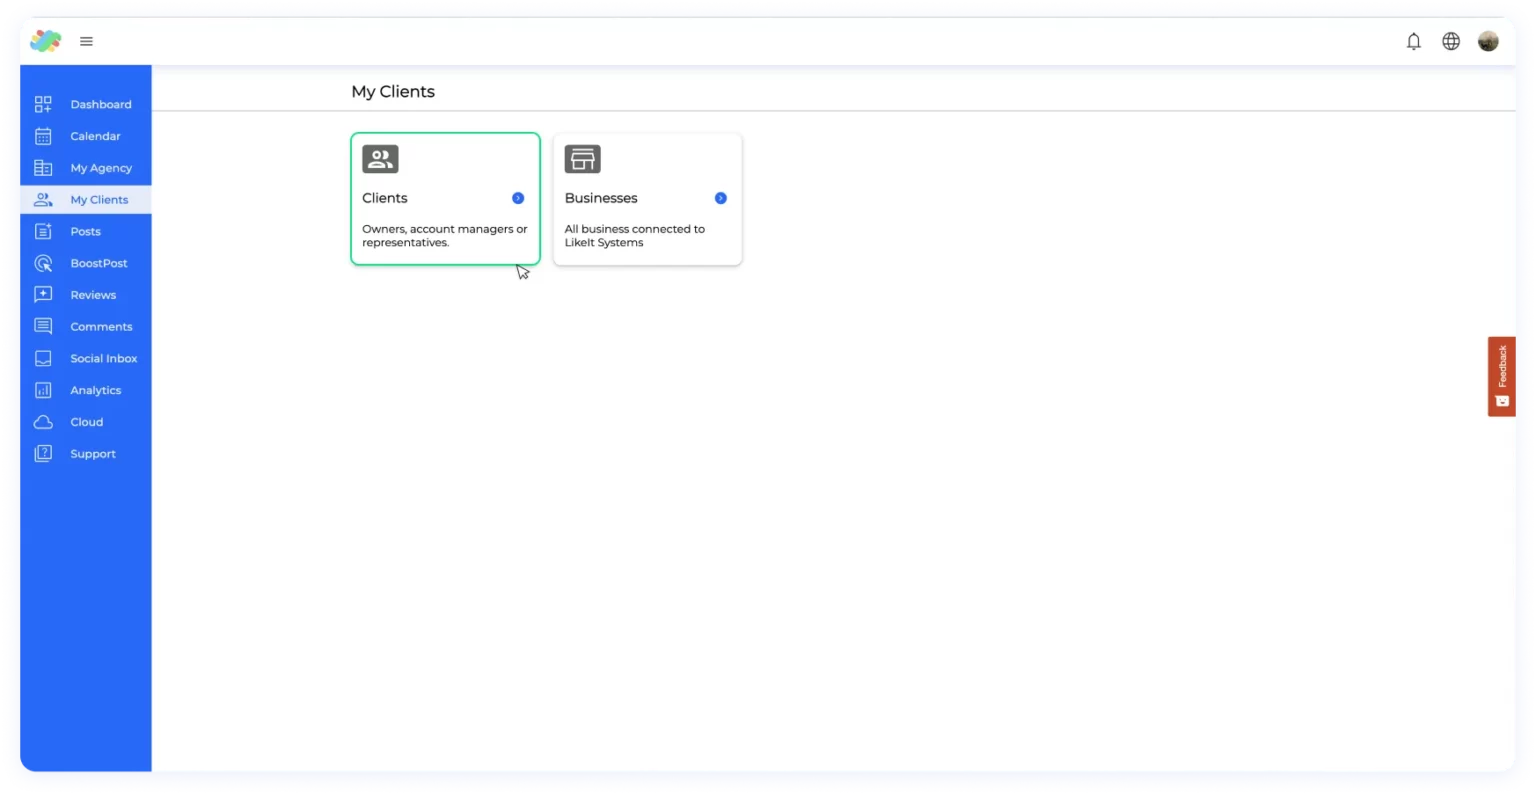
Step 2. Go to the left hand menu and search the “My Clients” section
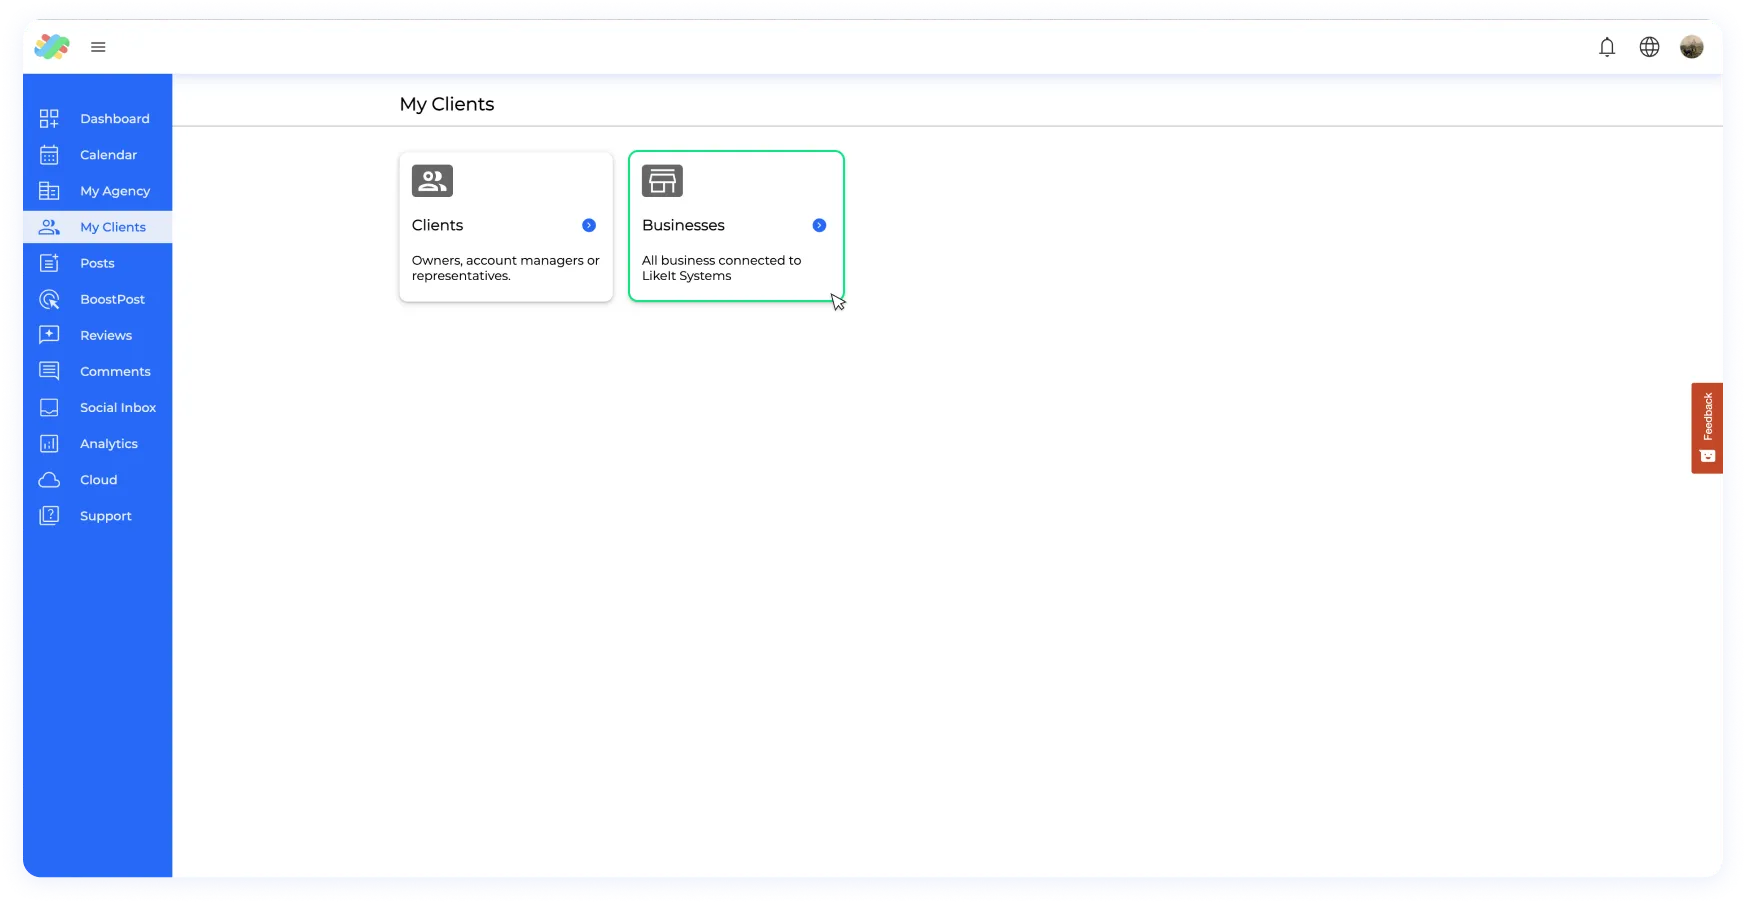
Step 3. Enter the “My Clients” page and select “Businesses”
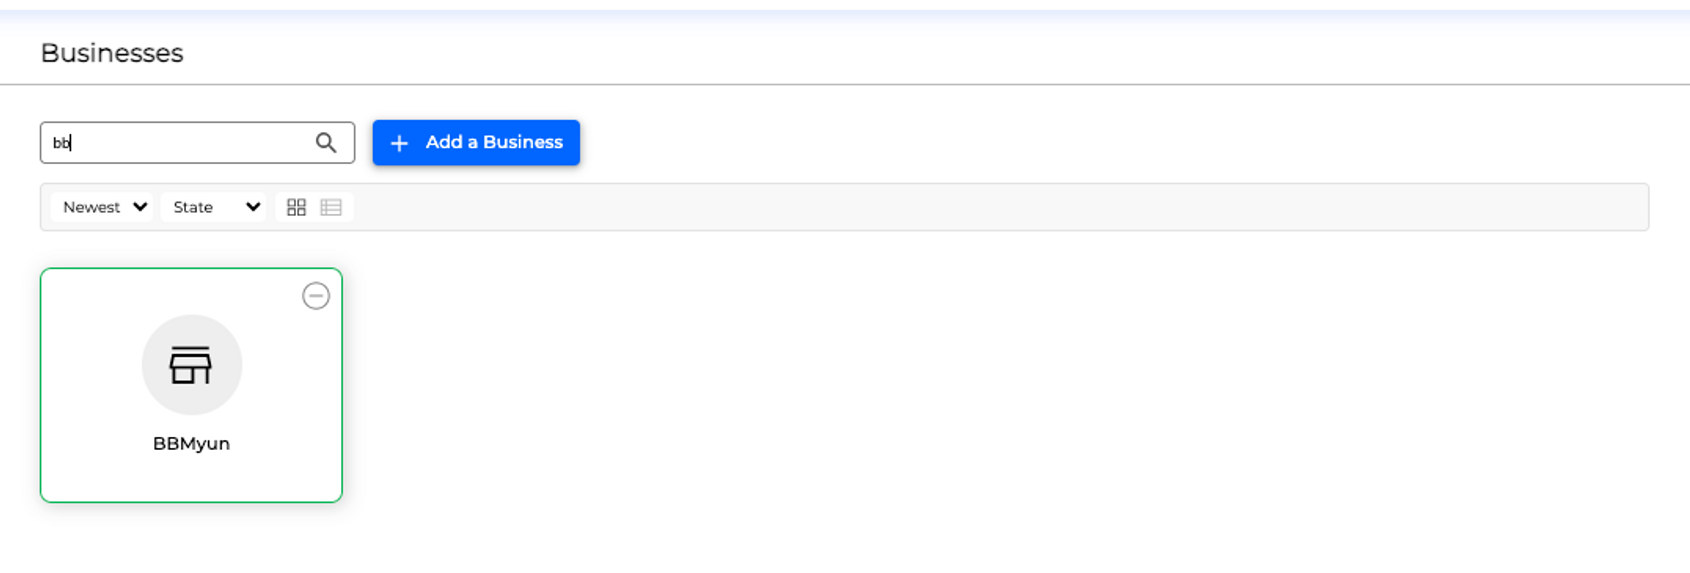
Step 4. Click on “Add a Business” and complete the process, create a new business client profile, the business information with the required data. For more information on how to create a business go to ”Businesses and how to create them?”
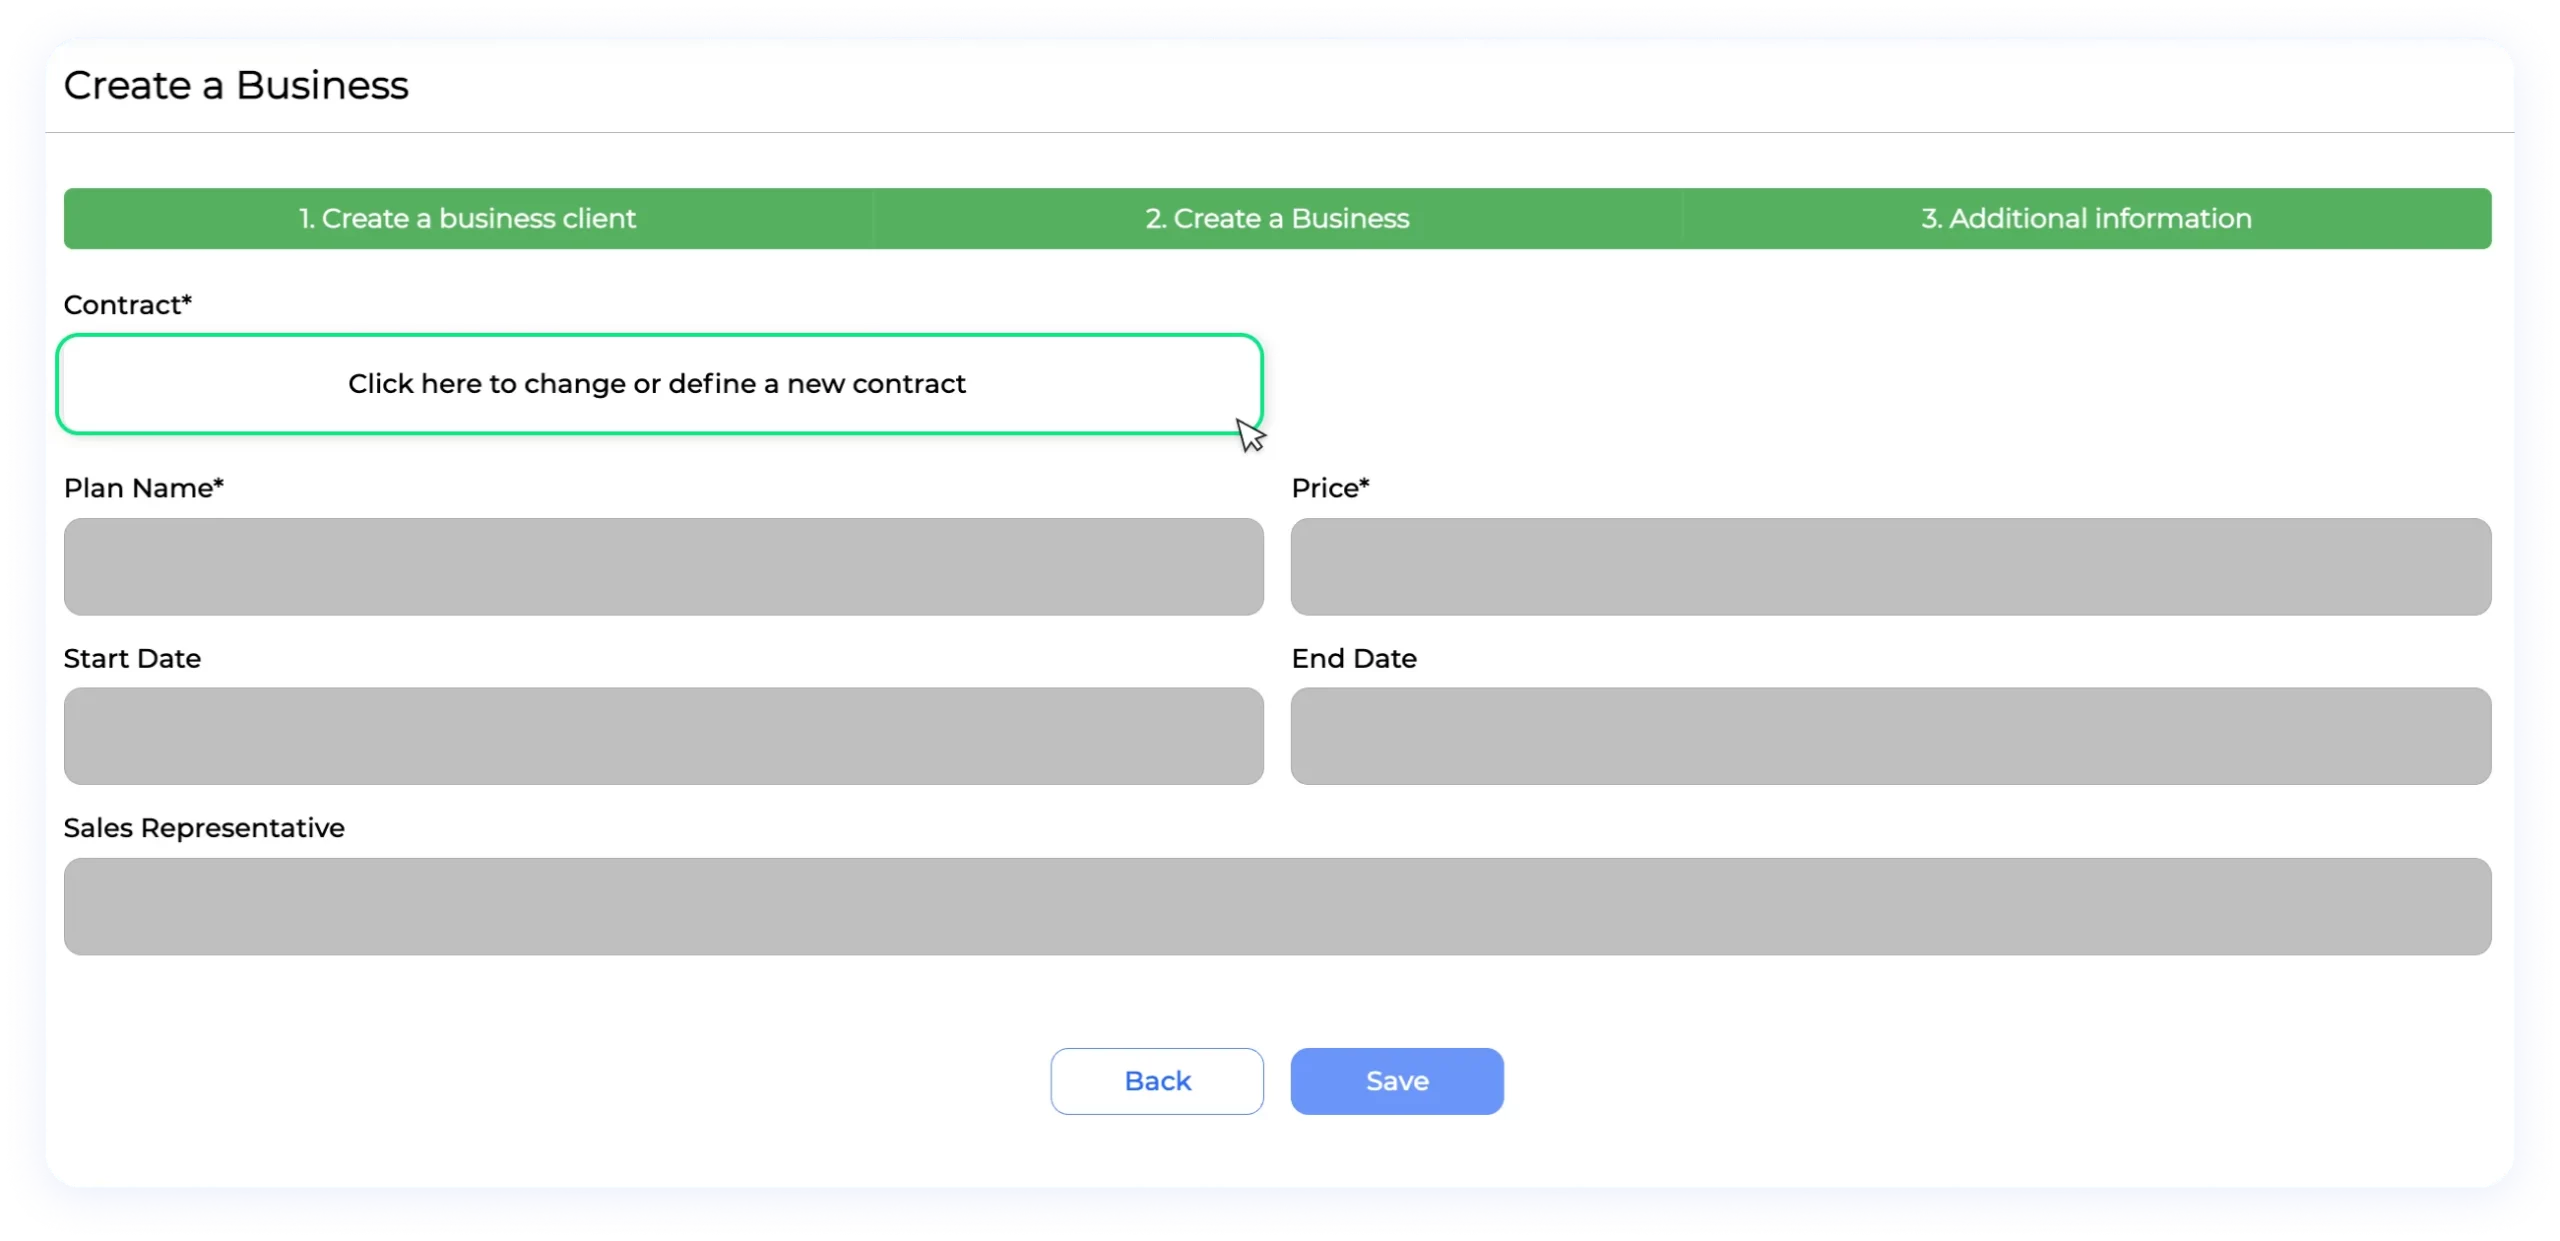
Step 5. When you arrive at the additional information section, click on the button that says “Click here to change or define a new contract”
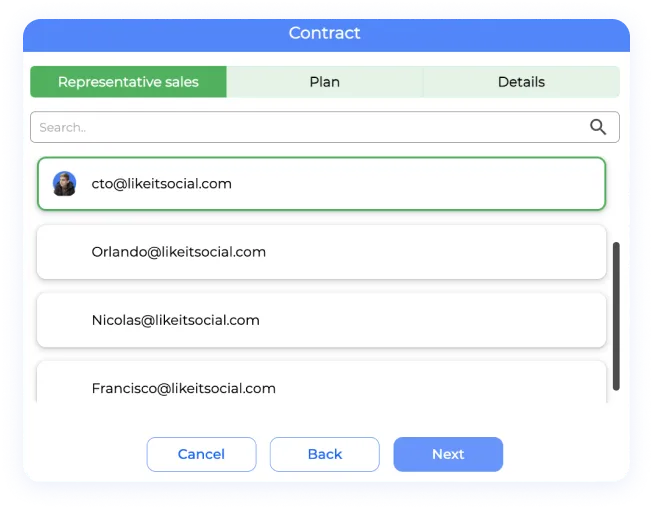
Step 6. Select a new contract and select a Sales representative, which is the person on the organization related to customer support and or responsable of the sale, click next when you have selected one
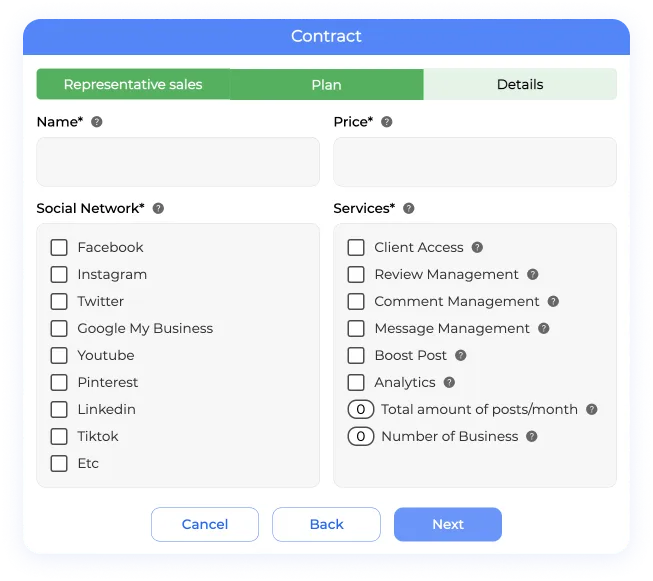
Step 7. Choose to create a new plan, with all the available customization or select a previously created one
Step 8. To select a previously created one, you just have to click over the “name” section and a dropdown will be promoted if there are any created plans.
Step 9. Add the date information and you’re ready to go!
Case 2: Adding a New Business of a Previous Client with a Previous Contract
If you’re adding a new business of a previous client with a previous contract, follow these steps:
Step 1. Log in to your account
Step 2. Go to the left hand menu and search the “My Clients” section
Step 3. Enter the “My Clients” page and select “Businesses”
Step 4. Follow the same steps until arriving the additional information section
Step 5. When you arrive at the additional information section, click on the button that says “Click here to change or define a new contract”
Step 6. Select an existing contract and the information will be taken from it
❗NOTE: If the plan that the contract manages has a limited number of businesses, this process can only be repeated that same amount of times. Once the plan has reached its limit, the contract will not be able to add any additional businesses.
Case 3: Adding a New Business of a Previous Client with a Different Contract and Plan
If you’re adding a new business of a previous client with a different contract and plan, follow these steps:
Step 1. Log in to your account
Step 2. Go to the left hand menu and search the “My Clients” section
Step 3. Enter the “My Clients” page and select “Businesses”
Step 4. Click on “Add a Business” and during the first step, instead of creating a new client, choose to pick an existing client profile
Step 5. When you arrive at the additional information section, click on the button that says “Click here to change or define a new contract”
Step 6. Select a new contract and select a Sales representative, which is the person on the organization related to customer support and or responsable of the sale, click next when you have selected one
Step 7. Choose to create a new plan, with all the available customization or select a previously created one
Step 8. To select a previously created one, you just have to click over the “name” section and a dropdown will be promoted if there are any created plans.
Step 9. Add the date information and you’re ready to go!
Case 4: Changing Details in an Established Contract/Plan
To change details in an established contract/plan, follow these steps:
Through the contracts section
Step 1. Log in to your account
Step 2. Go to the left hand menu and search the “My Agency” section
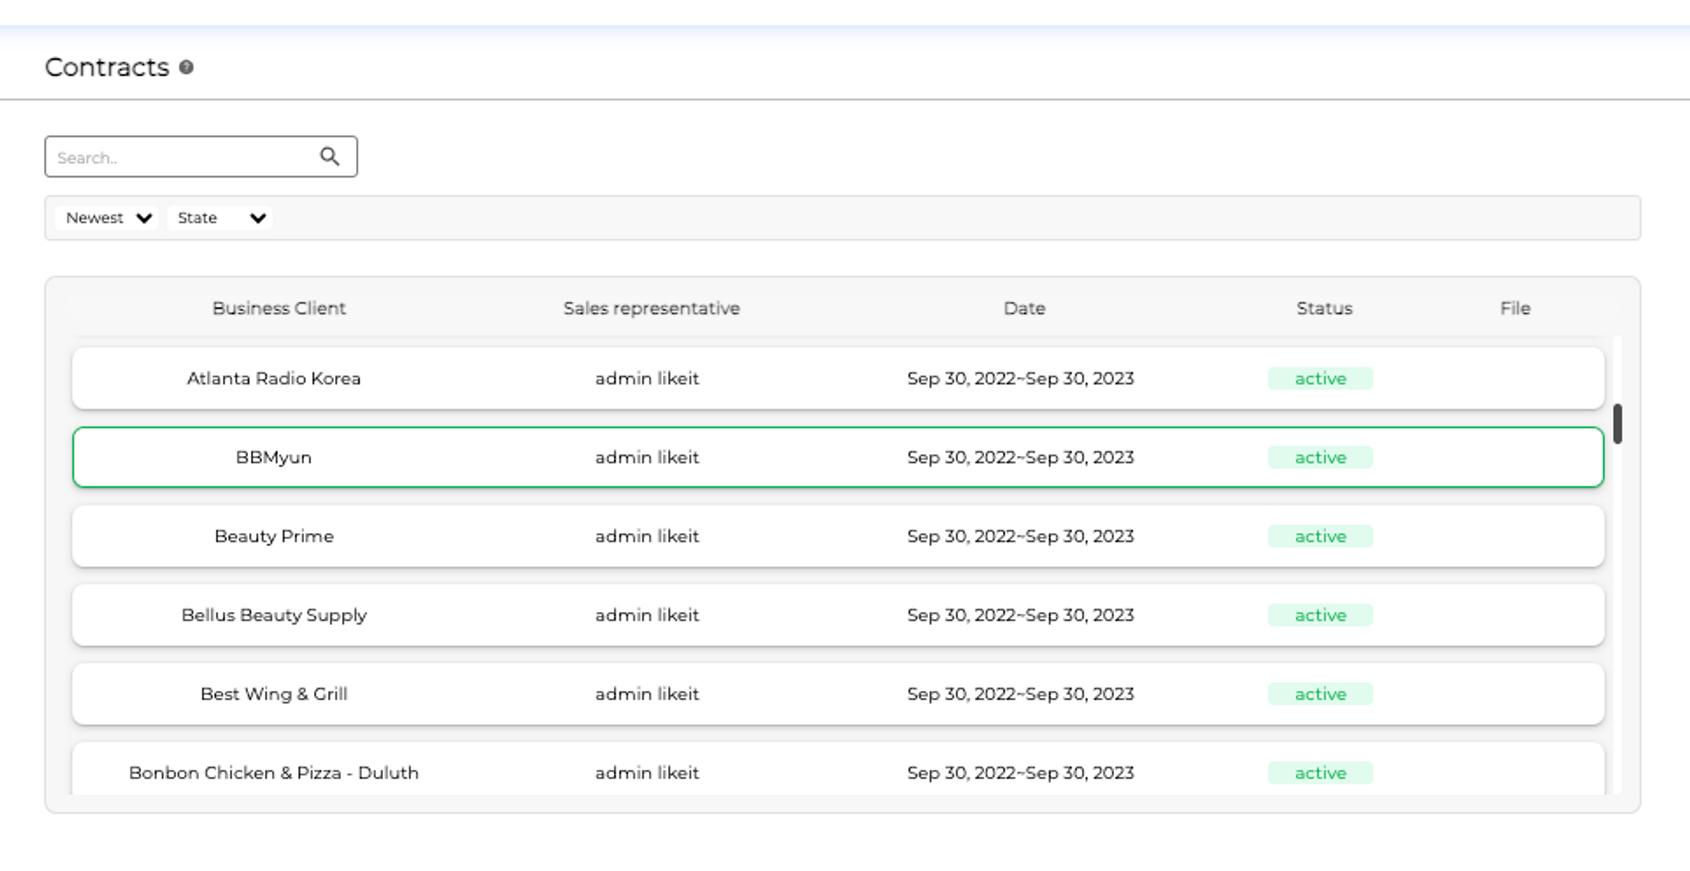
Step 3. Once inside of the “My Agency” section, select “Contracts”
Step 4. Locate the contract related to the business you want to modify
Step 5. Inside the contract, you can modify the information, such as the social networks, services, or pricing
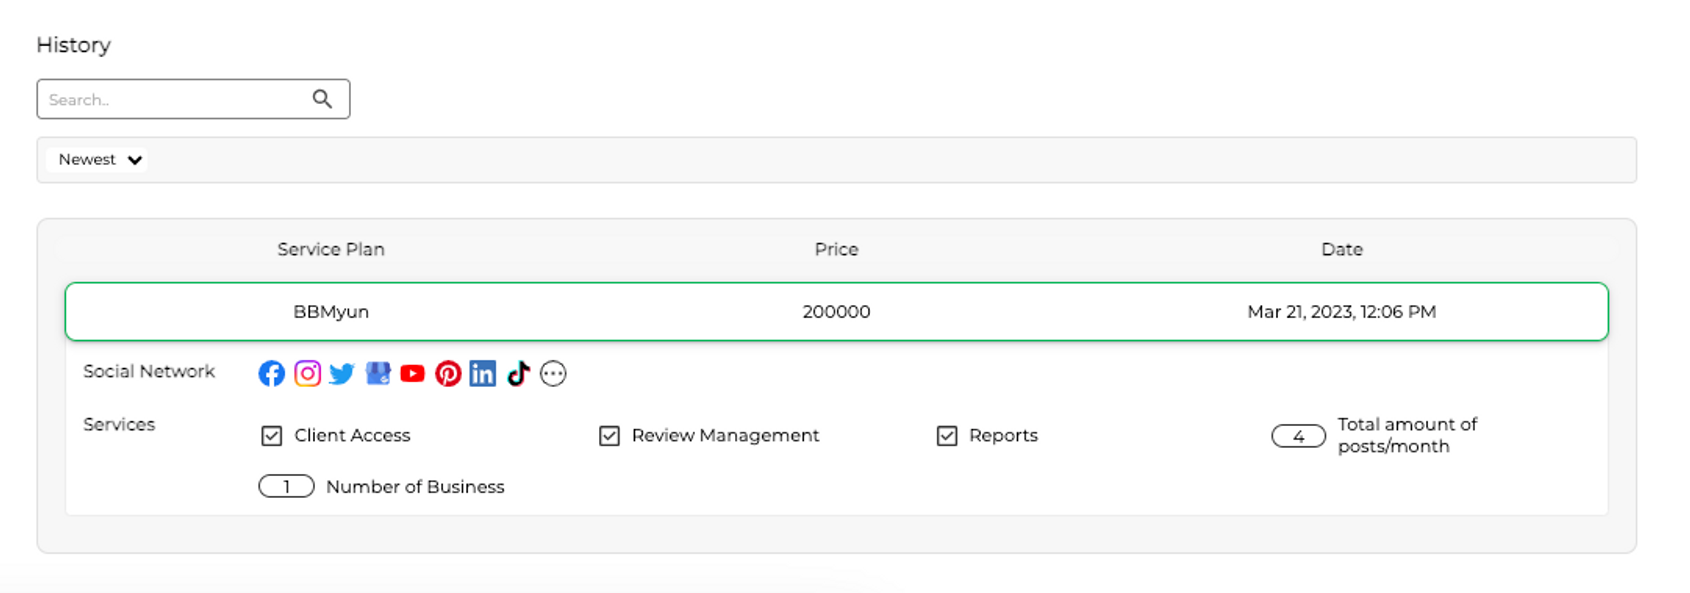
Step 6. The contract will save the history of each change in the history section, where you can view the information regarding the services status by clicking on each date.
Through the businesses section
Step 1. Log in to your account
Step 2. Go to the left hand menu and search the “My Agency” section
Step 3. Enter the “My Clients” page and select “Businesses”
Step 4.Locate and select the business to which you wish to modify the plan, and enter their business profile
Step 5. In the business profile you will find a section named “Contract and plan information” Click over the edit button located to the rightmost section of this widget.
Step 6. This will take you directly to the contract edit section, in here you will be able to do all the required changes, click save on the button to make them permanently.
Step 7. The contract will save the history of each change in the history section, where you can view the information regarding the services status by clicking on each date.
❗If you wish to change the client associated with a contract, the process involves creating a new client account and generating a new contract specifically for that account. Contracts are inherently linked to the client they are initially created for, which means it is not possible to reassign a contract to a different person or entity.
We hope this guide has been helpful in explaining how to assign and use plans with businesses. If you have any further questions, feel free to reach out for assistance.
This website uses Cookies on this website are used to personalize content and ads, provide social media features and analyze traffic. In addition, we share information about your use of the website with our social media, advertising and web analytics partners, who may combine it with other information you have provided to them or that they have collected from your use of their services.
This website uses Cookies on this website are used to personalize content and ads, provide social media features and analyze traffic. In addition, we share information about your use of the website with our social media, advertising and web analytics partners, who may combine it with other information you have provided to them or that they have collected from your use of their services.
Necessary cookies help make a website usable by enabling basic functions like page navigation and access to secure areas of the website. The website cannot function properly without these cookies.
Preference cookies enable a website to remember information that changes the way the website behaves or looks, like your preferred language or the region that you are in.
Statistic cookies help website owners to understand how visitors interact with websites by collecting and reporting information anonymously.
Marketing cookies are used to track visitors across websites. The intention is to display ads that are relevant and engaging for the individual user and thereby more valuable for publishers and third-party advertisers.
Unclassified cookies are cookies that we are in the process of classifying, together with the providers of individual cookies.